
You've saved a design you love, but you keep moving it between your wrist, forearm, and shoulder in your mind. The right tattoo placement is the spot you can live with through work, clothes, washing, and ordinary movement, not just the spot that looks best in a still photo. Start by comparing coverability and friction, then wear a correctly sized preview before deciding on permanent ink.
Table of Contents
- Where Should Your Tattoo Placement Go?
- Can Everyday Clothes Hide That Spot?
- What Design Size Fits the Spot?
- Why Does the Same Design Wear Differently?
- How Can You Test the Spot First?
- What About Hands Feet and the Neck?
- Which Placement Will You Try First?
Where Should Your Tattoo Placement Go?
Choose a body area that gives you the visibility you want without making your daily routine awkward. A design you enjoy showing at dinner might feel different when it's visible during every meeting or catches your attention whenever you type.
Across Germany, Denmark, Brazil, and the United States, arms, hands, wrists, legs, feet, ankles, and the trunk, including the lower back, collectively accounted for more than 70% of tattoos, while head and neck tattoos reached approximately 5% at most, according to a European Commission Joint Research Centre review.
Common tattoo placements compared
| Body area | Who sees it | Design fit | Friction and movement | Easy to cover |
|---|---|---|---|---|
| Upper arm | Often, in short sleeves | Medium motifs and bands | Low to moderate | Yes, with longer sleeves |
| Forearm | Most days | Script, symbols, medium pieces | Moderate, especially near the wrist | Sometimes, with long sleeves |
| Wrist | Almost always | Small bold marks | Bending and cuffs | Rarely without a sleeve that stays down |
| Hand or fingers | Always when hands are uncovered | Small bold shapes, not tiny lines | High from washing and flexing | No, not with ordinary sleeves |
| Shoulder blade or upper back | In open backs or tanks | Larger scenes and fine detail | Low if straps don't rub | Yes, under a shirt |
| Chest or ribs | In open necklines or swimwear | Vertical or paired small pieces | Clothing and breathing movement | Often, under a closed shirt |
| Calf or outer thigh | In shorts and dresses | Medium to large pieces | Moderate, more near the knee | Yes, in long pants |
| Ankle or foot | In sandals and shorts | Small bold marks | Shoes, socks, and walking | Sometimes, with full-length pants and closed shoes |
| Neck | In almost every ordinary collar | Small marks for a cautious preview | Rubbing from collars | Usually not |
Think in specific patches of skin
“On my arm” isn't a finished placement decision. The upper arm, outer forearm, and wrist offer different amounts of clear skin and very different levels of exposure.
The same applies to the leg. A design high on the outer thigh can remain private during an ordinary workday, while an ankle mark may appear whenever your pants lift as you sit. Check the actual edge of your clothing rather than relying on the body-area name.
For a medium motif, start by holding the design against your upper arm or forearm. For a larger composition, compare the shoulder blade, upper back, and outer thigh. Those choices let you assess the whole outline rather than squeezing the artwork into a narrow strip.
Practical rule: Shortlist a placement you can easily cover and another you'd enjoy showing. You don't have to choose between them until you've checked both in real clothes.
Don't treat the table as a popularity contest or a permanent-tattoo sizing rule. A skilled artist can work beyond these starting points, but your first preview should make the decision easier, not introduce unnecessary complications.
Keep an easy-to-cover option and a show-off option. Write down the exact position, such as outer upper arm below the sleeve edge, rather than writing arm.
Can Everyday Clothes Hide That Spot?
A placement stays private only if your normal clothes cover it while you move. Standing straight in front of a mirror won't tell you whether a neckline drops when you lean forward or a cuff slides back when you reach.
Placement preferences aren't universal. A 2025 Swedish population study reported tattoos on the upper arm, chest, or upper back among 38% of women and 64% of men, compared with lower-leg or foot tattoos among 22% of women and 11% of men. Those patterns provide context, not instructions for where your tattoo should go.
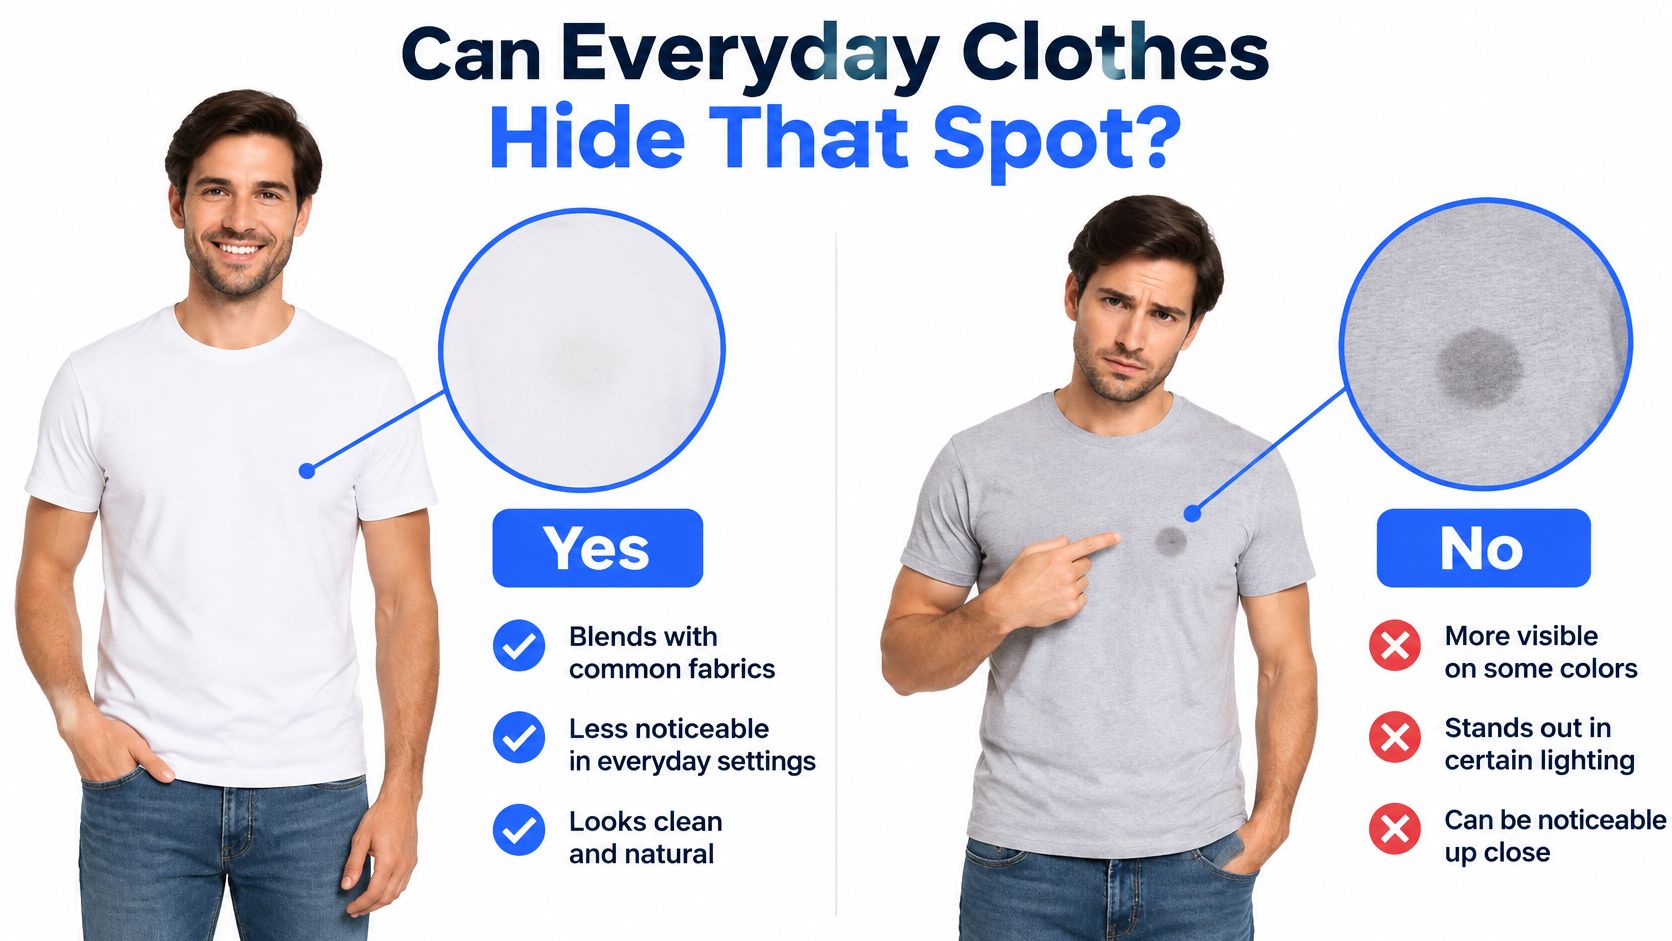
Try your actual outfits
Use clothes you already own, including the pieces you wear when you don't have time to plan an outfit.
- Crew-neck T-shirt: Expect your forearm, wrist, hand, and neck to show. Check the upper arm too, especially when you lift your arms.
- Collared shirt and blazer: These usually conceal the upper arm, shoulder blade, and much of the chest. They won't reliably hide a hand tattoo or artwork on the side of the neck.
- Long pants and everyday shoes: Check the calf, thigh, and ankle while sitting and walking. Cropped hems and the gap above a shoe can expose more than you expect.
An open neckline changes the result again. Collarbone and upper-chest artwork may remain covered in a crew neck but become the focal point in a scoop neck.
Separate policy from preference
Your own comfort and an employer's rules are different questions. Check an actual workplace policy instead of assuming that a manager's personal tattoos mean every visible design is acceptable.
The image matters too. A small flower and an aggressive-looking symbol may invite different interpretations, even in the same position. You don't have to agree with those interpretations to account for them.
Our temporary tattoo ideas for men can help with styling, but clothing coverage is an individual check, not a gender rule.
Label each shortlisted placement coverable, sometimes visible, or always visible. Make that judgment in interview clothes, a work uniform, religious or family settings, and weekend wear. If concealing it requires constant sleeve adjustments, it belongs in the sometimes-visible category.
What Design Size Fits the Spot?
A placement can feel wrong because the artwork is the wrong size, not because you chose the wrong body area. A wrist can suit a compact symbol beautifully and still be a poor home for a detailed scene reduced until its features run together.
In a European clinical sample of 333 tattoos, 51% were on the arm, split between 25% on the upper arm and 26% on the forearm, including the wrist; the back accounted for 17% and the torso for 12%. That split is a useful reminder to assess separate arm locations rather than treating them as interchangeable.

Measure before choosing the artwork
Use a flexible tape measure to find the clear space between joints, clothing edges, and neighboring artwork. Check both height and width, then hold a paper outline against your skin at the intended size.
For wrists and ankles, browse small designs rather than shrinking a back-piece concept. For a softer medium composition, floral designs can help you compare upright stems, rounded flowers, and branching outlines.
Consider scale with concrete examples. The Bold Botanical Tiger measures 4.7 by 7.5 inches, with the upper arm, thigh, or shoulder blade as intended placements. The Angel & Devil Hearts consist of paired 1.5-by-1.5-inch hearts, sized for arrangements such as one per wrist, one per ankle, or both sides of the collarbone.
Match the outline to the body
- Narrow vertical space: Let a rib or forearm composition follow the available length instead of forcing a wide image around a curve.
- Broad, relatively flat space: A shoulder-blade placement gives a wider composition room to remain visible as a whole.
- A future connected layout: Consider sleeve layouts on an upper arm or leg only when there's room to continue the idea.
Fine detail is easier to judge on flatter, quieter skin, such as the outer forearm or shoulder blade. Curved, busy spots make bold, simple shapes easier to read.
If you're planning connected artwork, our sleeve tattoo ideas for women can help you think about spacing rather than isolated motifs.
Measure first, then compare the dimensions in the full tattoo collection. Falling for an image before checking its footprint often turns a straightforward placement choice into a compromise.
Why Does the Same Design Wear Differently?
Placement is a set of physical stresses, not a fixed pain score. Bone prominence, movement, rubbing, sunlight, and washing affect different parts of the experience, and they shouldn't be collapsed into a universal ranking.
Keep permanent and semi-permanent tattoos separate here. Surface wear on an at-home design doesn't tell you exactly how permanent ink will heal or age. Your preview is most useful for spotting repeated contact, awkward positioning, and changes in legibility when you move.
What stresses each placement
| Body area | Main stress | Fine detail | Better choice when |
|---|---|---|---|
| Outer forearm | Light rubbing, some sun | Easier to assess on relatively flat skin | You want a first, easy-to-see test |
| Upper arm or shoulder blade | Low friction if straps miss it | Strong candidate for detailed artwork | The design is larger or more intricate |
| Calf | Sock tops and shoes at the edges | Good viewing surface on the outer calf | You can cover it with pants |
| Wrist | Cuffs and bending | Keep it bold and small | You accept daily visibility |
| Ankle | Socks, shoes, and flexing | Bold marks remain easier to read | Sandals or looser socks are normal |
| Hand or fingers | Soap, water, and constant bending | Fine lines are vulnerable to wear | You're testing a very public spot |
| Ribs or chest | Straps, waistbands, and movement | Check for uneven wear where fabric rubs | The neckline and underwear miss the art |
| Neck | Collars and sun | Start with a small, simple preview | You're sure you want it seen |
Find the contact points you usually overlook
An ankle under a tight sock gets a different trial from an ankle above an open sandal. Check where the elastic sits, not just where the shoe ends.
Ribs may look smooth and uninterrupted in a mirror, then meet a bra band, binder edge, or waistband every time you sit. A hand design encounters washing and gripping that a shoulder-blade design doesn't.
For longest-lasting results, we recommend areas with minimal friction and hair, such as the forearm, calf, or shoulder, and avoiding spots that bend frequently or sweat a lot. Our guide to helping temporary tattoos last longer explains how to account for that routine contact.
Don't use tenderness as a verdict
A spot that feels sensitive when pressed isn't automatically a bad placement. Areas near bone or dense nerves can be more uncomfortable during permanent tattooing, but pressing your skin won't reproduce the procedure or predict your response.
Sun exposure also deserves a practical check. Someone working outdoors needs a different coverage plan from someone whose chosen area stays under a shirt all day.
The best spot is personal. Judge the contact your clothes and activities actually create, not the ranking someone assigns to a body part.
A normal week of reaching, sitting, washing, and exercising tells you more about placement suitability than a momentary skin-pressure test.
How Can You Test the Spot First?
A preview lets you evaluate the appearance before committing to a procedure. Permanent tattooing disrupts the skin barrier through the epidermis and dermis, and medical literature on tattoo complications describes inflammation, allergic reactions, infections, scarring, and granulomatous reactions.
A semi-permanent preview doesn't simulate permanent tattoo healing or guarantee that you won't react to an ingredient. It answers a narrower question: Do I like this artwork, at this scale, in this position, during ordinary life?
Run a placement preview
- Mark the boundaries. Use a skin-appropriate washable pen to mark the intended position, avoiding broken or irritated skin. Measure the clear space between joints so you can reproduce the placement accurately.
- Choose the design in the size and orientation you intend to wear. A tiny version of a back piece won't tell you how the full composition looks on your upper arm.
- Patch-test first if you have sensitive skin or allergies. We recommend testing a small area before a full design. Wait and observe the area rather than treating immediate comfort as proof that no reaction can occur.
- Follow our step-by-step application guide on clean, dry skin. Peel off the clear protective film, place the design face down, press a damp cloth against it for 30 seconds, then peel back the paper.
- Give the color time to develop. Development takes about 24 hours. We recommend waiting at least 24 hours after application before using lotions, sunscreen, or heavy oils on the tattooed area; keep it covered from the sun during that interval rather than skipping sun protection.
- Wear it through normal clothes, washing, work, and exercise. Photograph it in your everyday outfits, with your arm relaxed as well as posed, so you can compare how it reads at a natural distance.
- Record what you'd change. Note the size, height on the limb, orientation, and whether you enjoyed seeing it. “Move it farther from the cuff” is more useful than “something feels off.”
Judge the developed result
The plant-based ink absorbs into the outer skin instead of sitting on top as a sticker film, and black designs develop to a deep blue-black. Don't make your final appearance judgment from the faint initial transfer.
Our guide to trying a tattoo before getting it can help you organize the comparison. Keep your notes focused on what a preview can show, not on promises about permanent-tattoo pain, healing, or medical safety.
What About Hands Feet and the Neck?
Start with the hand, where uncertainty is difficult to hide. Enjoying a design in a close-up photograph isn't the same as wanting it beside your keyboard, across a dinner table, and in every introduction.
The back of the hand, side of the hand, and space between the thumb and index finger offer different canvases. Small, bold shapes hold up best, while fine lines on the palm side fade fastest. Test the position with your hand relaxed and while gripping something, because an attractive outline can fold awkwardly in use.
Give each difficult spot a specific test
- Feet and ankles: Put on the shoes you walk in. If a strap or shoe edge crosses the image, reposition it before applying rather than hoping the contact won't matter.
- Ribs: Test the exact bra, binder, or belt line. Sit down and twist gently to see whether fabric moves across the intended artwork.
- Neck: Check it from the side and behind, not only from the front. Ordinary collars rarely offer reliable concealment, so uncertainty about interviews or family settings is a good reason to choose a more coverable first trial.
- Elbows, knees, and inner joints: Bend the joint fully. If the central feature disappears into a crease, move it away from the fold or simplify the design.
These aren't forbidden placements. They demand a more honest test than a stationary mirror check.
Notice your behavior around other people
Wear a hand preview through a real workweek if your workplace permits it. Notice whether you're comfortable letting people see it naturally or whether you keep changing your posture to hide it.
The same distinction applies to a neck placement. Wanting control over when people notice your tattoo is different from disliking the design itself.
If you keep tugging clothing over the preview, choose the coverable alternative. That's useful information, not a failed test.
After a week of seeing the position in the mirror and around other people, ask whether it feels like part of your style or something you're managing. Don't book permanent work just because you've become accustomed to the image. Choose it because you still want it there.
Which Placement Will You Try First?
You've narrowed down a design, but you're still unsure where it belongs. Choose a spot you can live with through an ordinary week, not just one that looks good in a mirror. For a first preview, an outer forearm, upper arm, calf, or shoulder blade can make it easier to judge the design while keeping friction in mind.
A wrist or ankle suits a small mark you want to see often. If you're uncertain about the artwork itself, start somewhere more coverable before trying the hand, foot, or neck.
Make your first choice easy to evaluate
- Mark the position. Note where the design's top and bottom edges sit so you can describe the placement to a tattoo artist.
- Adjust one detail at a time. If the design feels off, try shifting its position or changing its scale before reconsidering the whole idea.
- Keep useful references. Take photos from a natural viewing distance and note where clothing rubs against the design.
Just Tattoos makes needle-free, plant-based semi-permanent tattoos for at-home application. They let you preview a placement before booking an artist, wear a fake sleeve for a weekend, match with a friend for a trip, or change your look without a permanent commitment. Most designs last 7–10 days, depending on skin and placement, then fade as skin renews.
The catalog includes 300+ artist-made designs organized by body area, including wrist and ankle, hand, foot, chest and back, arm and leg, and sleeve. A preview can help you decide whether a placement feels right in everyday settings before you book permanent work.
Visit Just Tattoos to choose artwork for a shortlisted spot, then wear it through a normal week before making your decision.